Don’t you just love it when what you need is there when you
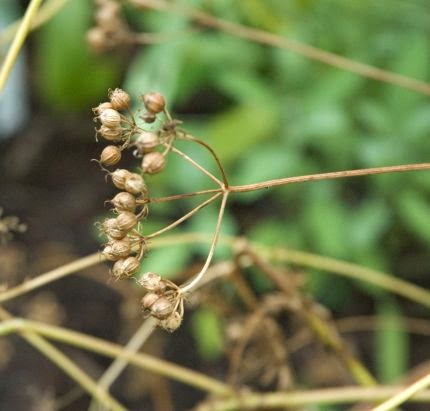
need it? The universe at work. My husband came down with this
weird cough and I had just noticed that the horehound in the garden was still
green and vibrant. Not sure how that
happened in mid-December where there has already been snow and freezing weather, but
not getting around to cleaning up that part of the garden paid off.
So I made him some horehound cough drops, something I have always wanted to try. They came out
great, now I just need more people with coughs J Here’s the recipe, if you have given them a try
or have any tips, let me know.
Recipe:
There are many recipes for horehound cough drops and I decided to keep
it simple with just horehound, ginger and honey:
Horehound – 2 cups fresh (or 1 cup dried)
Ginger – a small finger, peeled and sliced
Water – 1 cup water to each cup herbs
Honey – 3 cups (1 ½ cups honey to 1 cup “tea”)
Cream of tartar – ½ tsp

Steep
the horehound and ginger in the water, I used 2 cups of fresh horehound to 2 ½ cups
water, allowing for some water evaporation.
Let steep 30 minutes, strain. I
had a little over 2 cups of “tea”. Add “tea”
to a large pot and add the honey and cream of tartar.

Boil until mixture reaches 300 degrees, use a candy thermometer to
ensure the mixture reaches candy stage.
Grease a flat pan with sides with butter or use cooking spray. Pour mixture into pan and spread out. Let cool.

To make the cough drops I tried 3 different methods – balls, cut
squares and breaking the candy into pieces.
1.
Balls – When
the mixture cools to a point where it can be handled, roll a small amount of
mixture into a ball. Grease hands with
butter so avoid sticking. You need to
work fast as the mixture gets hard pretty quickly. Place on wax paper to cool completely and
harden.
2.
Squares – When the mixture cools to the point it
is like salt water taffy, roll it out and cut with a sharp knife into
squares. Place on wax paper to cool
completely and harden. Of the 3 methods,
I thought this was the easiest and came out the best.
3.
Break into pieces – while the mixture is in the
pan and it has cooled to the taffy consistency, score the mixture into bite
size pieces. When totally hardened,
remove from pan and break into pieces. I
found I could easily remove the candy from the pan but that it didn’t crack at
all like I had scored it. It was
difficult to know the exact best time to score it, I tried at several
points. So this came out as chunks of
cough drops.
Store the finished cough drops in an airtight container, I lined a tin with
wax paper to store them. This recipe
made a lot of cough drops, probably at least 75 in various sizes (and
chunks). I’m not sure of the shelf life,
will need to do some more research to figure that out.
A few tips from the experience:
The mixture boils up quite a bit, I had to change pots twice to allow
it to boil rapidly enough to get to the high temperature and not boil over the
sides of the pot. So use a very big pot.
I’m not sure what the purpose of the cream of tartar is. I thought it was to help keep the mixture
from foaming when boiling, but I had quite a bit of foam when it boiled and
still some when I poured it into the pan.
I tried adding some butter to the mixture to stop the foaming as that
helps when making jellies, but it didn’t seem to make a difference either.
Get a candy thermometer. I didn’t
have one so had to do continually testing to see when it got to the candy stage
and eventually just guessed. It would have
helped quite a bit.
Experiment, next time I will try adding some other herbs, maybe
rosemary and/or thyme too?